This article applies to all themes except Consultix, Qube
Point to note: Depending on your purchased theme, screenshots can vary.
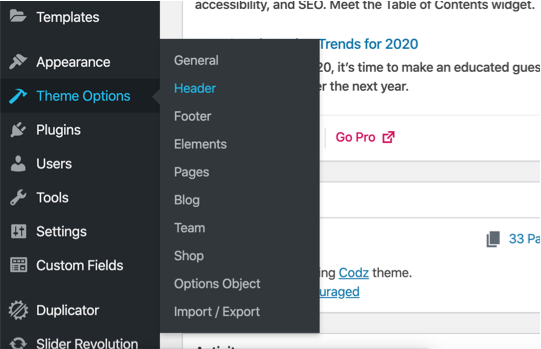
To set a header style, you need to login into WordPress and go to Theme Options -> Header as shown in below screenshot.
Figure -1
Header select screen would look like below screenshot. Depending on your purchased theme, feature, and number of header styles can vary but overall theme style selection window will look like this.
Figure -2
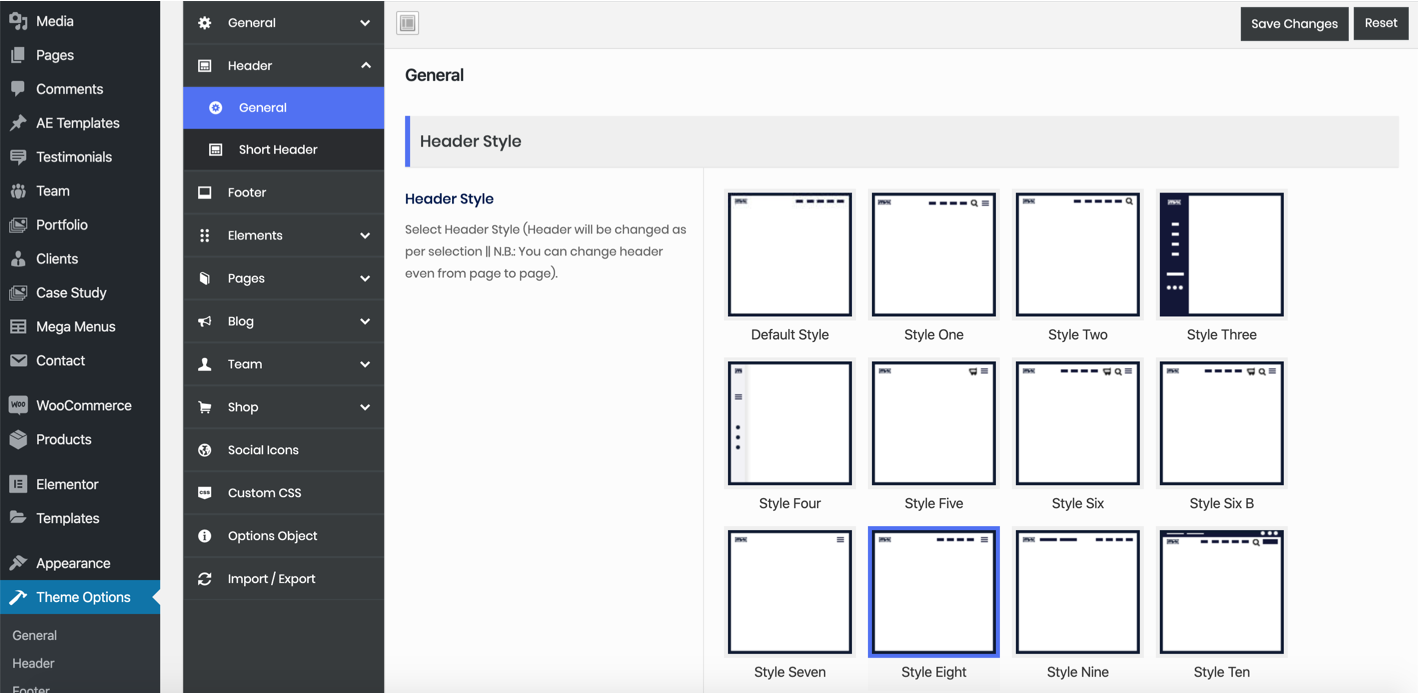
You can get idea about the header style from those thumbnails. You need select a style and hit Save Changes button.
Now, as you have selected Style eight for your site, so you need to adjust header settings (including logo) under that style. Scroll down the page and you'll see individual header styling options. If you expand a header style you'll see different options based on it's purpose and functionality. For example, if you expand Style eight then it would look like below screenshot. You can upload logo, adjust typography settings, menu color, button color, set sticky menu etc.
Figure-3

Point to note: If you change header style as shown in Figure-2 to something else then you need to apply header settings (such as uploading logo, adjust typography etc) as shown in Figure-3 for that specific header style. As every header style has different options and purpose so you need to apply styling setting (including uploading logo) for each header style (which you want to use).
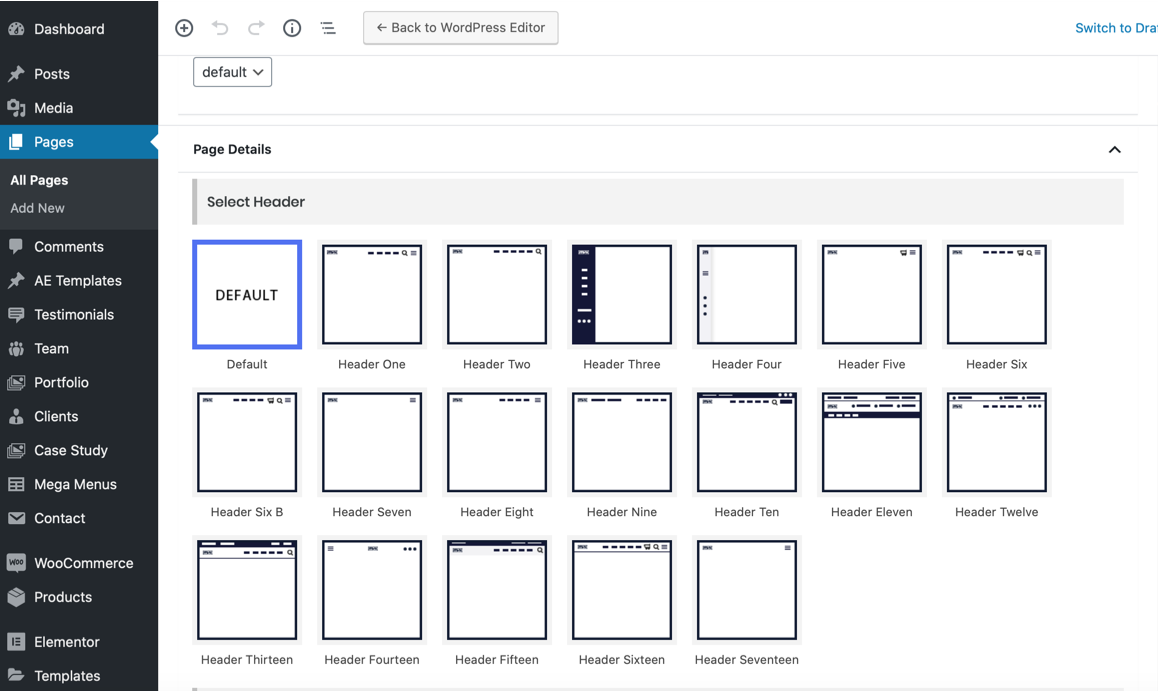
In case if you see for a page your chosen header style is not being displayed then Edit the page and locate Header setting and make sure DEFAULT is selected as shown in below screenshot. This means whatever style you had selected from Theme Options ->Header would be inherited for inner pages.
Figure-4
If you want to display different header style for a specific page then please follow this article.
Comments
0 comments
Please sign in to leave a comment.